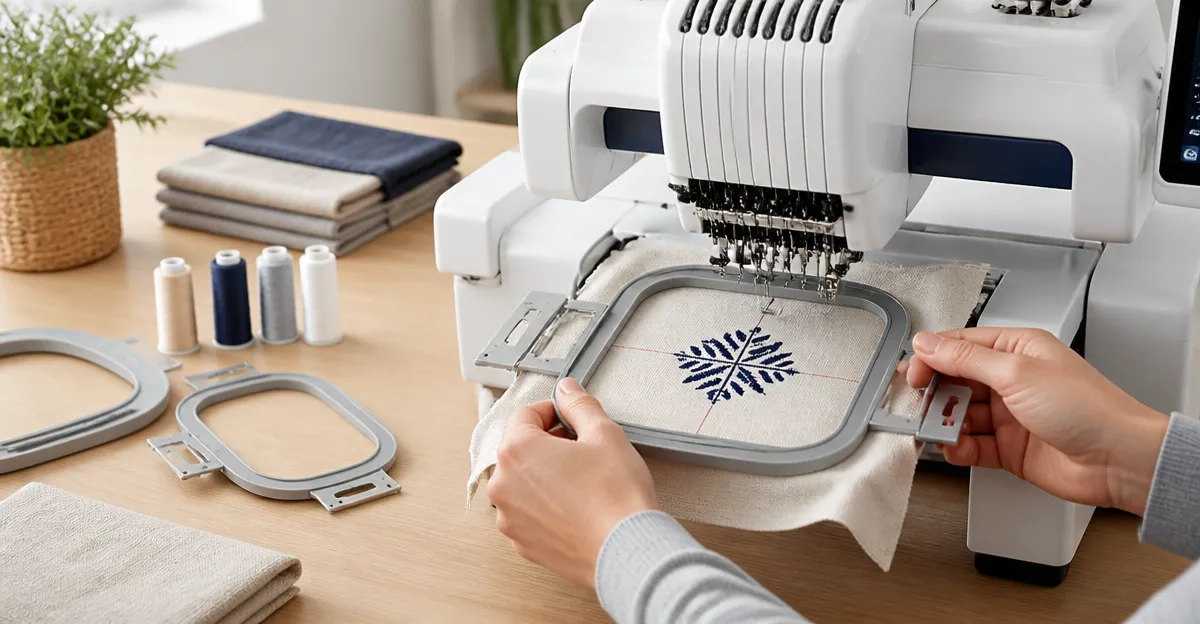
How to Hoop Compact Embroidery Machines: A Step‑by‑Step Guide to Perfect Alignment, Tension & No‑Puckering
In this guide the reader will learn how to select the appropriate hoop, install it on a compact embroidery machine, adjust tension correctly, and verify alignment before stitching. Mastering these steps prevents fabric puckering, improves stitch quality, and extends the life of both the machine and the hoop. The instructions are applicable to most popular brands and can be followed without purchasing any specific product, although recommended tools are highlighted for efficiency.
What You'll Need
- Embroidery hoops in a range of diameters (3‑10 inches)
- Adjustable screws or metal clamps
- Clean, flat work surface
- Fabric and stabilizer appropriate for the design
- Optional: dedicated hoop storage rack
The following Amazon products provide reliable, affordable solutions for each of these items.
Step 1: Prepare Your Machine and Workspace
Begin by turning off the machine and unplugging it. Remove any loose threads, and wipe the embroidery area with a lint‑free cloth. A tidy workspace reduces the risk of debris causing uneven tension.
For a complete starter kit, the Caydo Embroidery Hoop Set offers six plastic hoops ranging from 3.6 to 10.7 inches and includes 16 needles. The set is priced at $6.39, carries a 4.6‑star rating from over 1,000 reviewers, and its lightweight PP plastic construction feels comfortable in the hand while resisting breakage. Having multiple sizes on hand simplifies the selection process in later steps.
Step 2: Choose the Correct Hoop Size for Your Design
Measure the bounding box of your embroidery design in the software. Select a hoop that is slightly larger than the design to allow the fabric to sit flat without stretching.
If you are using a Brother compact machine, the Sew Tech Brother Embroidery Hoops 4‑Pack provides machine‑specific frames (1×2.5, 4×4, 5×7, 5×12 inches). Priced at $29.39 with a 4.8‑star rating from 3,582 reviews, these metal hoops feature clear grid markings and an adjustable screw that clamps fabric securely. The compatibility list covers most Brother models, ensuring a precise fit and eliminating the need for aftermarket adapters.
Step 3: Install the Hoop on the Machine
Place the chosen hoop on the machine’s hoop arm, aligning the mounting pins with the hoop’s screw holes. Tighten the screw just enough to hold the hoop in place without compressing the fabric.
For users who need additional hoops for simultaneous projects, the Sew Tech Brother Embroidery Hoops 3‑Pack is a practical addition. At $22.32 and a 4.7‑star rating from 3,524 reviewers, this set includes a blue bucket hanger that organizes hoops on a pegboard, keeping them accessible and preventing loss. The metal screws on these hoops provide a firm grip, which is essential when swapping hoops quickly between designs.
Step 4: Adjust Fabric Tension
Lay the fabric over the inner ring, then pull the outer ring down until the fabric is taut but not stretched. Turn the adjustment screw clockwise in small increments; the fabric should feel as tight as a drumhead. Avoid over‑tightening, which can cause puckering when the needle pulls the material.
The Caydo Bamboo Embroidery Hoop Set offers a natural wooden feel and stainless‑steel screws with an anti‑skid texture. Priced at $8.29 and rated 4.6 stars by 8,062 reviewers, the bamboo surface provides a gentle grip that reduces the chance of slipping, especially with delicate fabrics. The wooden material also distributes pressure evenly, which can be advantageous for high‑detail work.
Alternatively, the Caydo Plastic Embroidery Hoop Set includes a larger brass adjustment screw that is easier to turn for rapid tension changes. At $8.19 with a 4.5‑star rating from 3,106 reviews, the colorful plastic hoops are lightweight and the enlarged screw head minimizes hand fatigue during repeated adjustments.
Step 5: Test Alignment and Stitch a Sample
Before loading the full design, run a 2‑inch test square in the center of the hoop. Observe the stitching on the screen and on the fabric. The stitches should be even, and the fabric should remain flat.
If the sample shows gaps or puckering, release the outer ring slightly, reposition the fabric, and retighten. Small adjustments often resolve minor misalignments without requiring a new hoop.
Step 6: Secure the Hoop for Long‑Term Use
When the project is complete, loosen the screw just enough to release the fabric, then store the hoop in a dry place. Using a wall‑mounted organizer such as the blue bucket hanger included with the 3‑Pack keeps hoops protected and ready for the next session.
Tips & Pro Tips
- Always use a stabilizer that matches the fabric weight; a lightweight tear‑away works well for cotton, while a medium cut‑away is better for knits.
- Rotate the hoop 90 degrees after every 5‑10 rows to distribute tension evenly and avoid wear on a single side.
- For very small designs, consider using the 3.6‑inch hoop from the Caydo set; its compact size reduces excess fabric that could shift during stitching.
- Keep a small screwdriver on hand for the plastic hoops; the larger screw head on the Caydo Plastic set makes this unnecessary for most adjustments.
- When changing hoops on a Brother machine, always verify that the hoop’s grid aligns with the software’s design grid to maintain precise placement.
Troubleshooting
| Problem | Possible Cause | Solution |
|---|---|---|
| Fabric puckers after a few rows | Over‑tightened hoop or unsuitable stabilizer | Loosen the outer ring by one click, add a thicker stabilizer, and re‑test. |
| Stitches are uneven | Hoop not centered on the fabric | Remove the fabric, recenter it, and retighten evenly. |
| Hoop slips during stitching | Worn screw or smooth plastic surface | Replace with a hoop that has an anti‑skid texture, such as the Caydo Bamboo set. |
Conclusion
By following these six steps—preparing the workspace, selecting the correct hoop size, installing the hoop, adjusting tension, testing alignment, and storing the equipment—one can achieve professional‑grade embroidery on compact machines without puckering or misalignment. The recommended Amazon tools streamline each phase, but the techniques remain effective with any compatible hoop.
Products Mentioned in This Guide
Frequently Asked Questions
What hoop size should I choose for a compact embroidery machine?
Select a hoop whose diameter matches the design area, typically 3‑10 inches, ensuring the fabric fits snugly without excess space.
How do I properly install a hoop on a compact embroidery machine?
Place the fabric and stabilizer in the hoop, tighten the adjustable screws or clamps evenly, and lock the hoop into the machine’s hoop holder.
What is the correct tension setting when hooping fabric?
Adjust the tension until the fabric is taut but not stretched, feeling slight resistance when pulling the fabric edge.
How can I check alignment before starting to stitch?
Lower the needle, align the design’s center with the hoop’s marked center, and run a test stitch to confirm proper placement.
What tools can help prevent puckering during embroidery?
Using a clean, flat work surface, appropriate stabilizer, and a dedicated hoop storage rack keeps the hoop stable and reduces fabric movement.