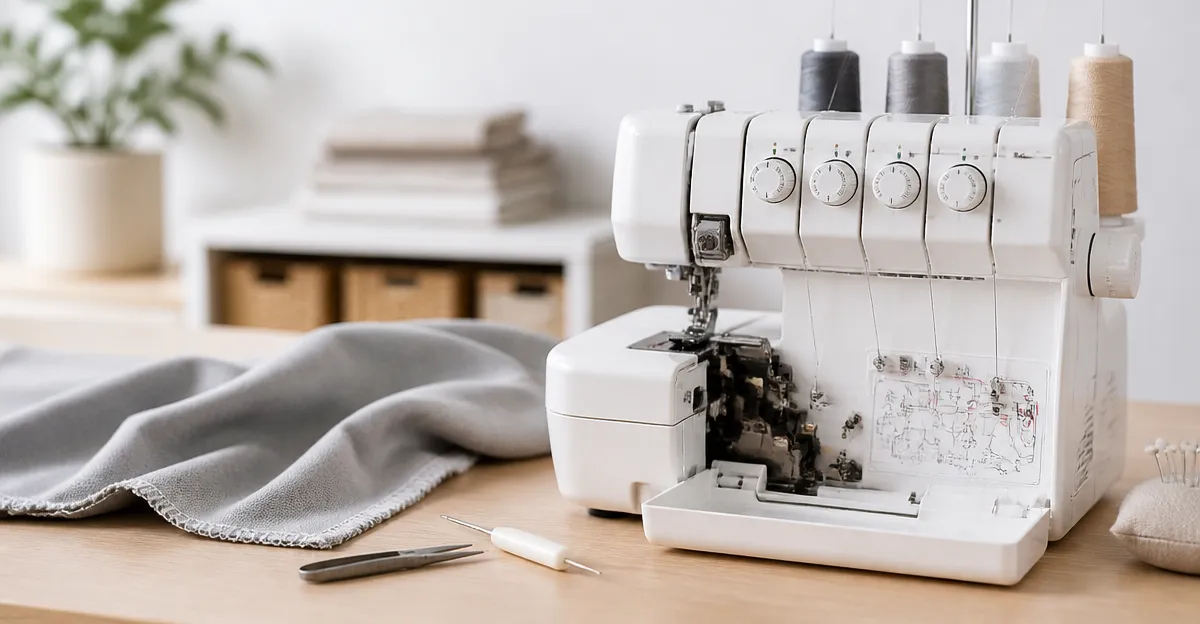
Serger Threading Made Easy: Step‑by‑Step How‑To Guide for Beginners
Introduction
This guide will teach the reader how to thread a serger efficiently, why proper threading matters, and which tools can simplify the process. Mastering threading reduces setup time, prevents uneven stitches, and builds confidence for more advanced sewing projects. By following the step‑by‑step instructions, beginners will be able to operate a serger without frustration.
What You’ll Need
- High‑quality polyester or cotton thread (matching the fabric weight)
- Scissors or thread snips
- Threading guide or instructional booklet (often provided with the machine)
- Optional: serger accessories such as extra presser feet
- One of the recommended sergers for demonstration purposes
Step‑by‑Step Instructions
1. Prepare Your Work Area and Gather Tools
Begin by clearing a well‑lit workspace and placing the serger on a stable table. Ensure the power cord is safely routed and the foot pedal is within reach. Having scissors, spare thread, and a small notebook for settings will streamline later steps. If you own a Brother 1034D Serger, you will appreciate its metal frame that reduces vibration, allowing you to focus on threading without distractions.
The Brother 1034D offers a metal frame, 1,300 stitches per minute, and color‑coded upper thread guides. It is priced at $319.99 and holds a rating of 4.6 out of 5 from 12,169 reviews, indicating reliable performance for beginners.
2. Identify Thread Paths and Color Coding
Most modern sergers use a color‑coded system that matches thread spools to specific guides. Locate the upper thread guides (usually three) and the lower looper guide. The color on each guide corresponds to the thread color you will use, simplifying the process. The Singer S14-78 Serger provides clear on‑deck color coding and an LED light that illuminates the threading path, making it easier to follow each step in low‑light conditions.
The Singer S14‑78 is priced at $259.99 and has a rating of 4.4 out of 5 from 267 reviews. Its built‑in LED light reduces eye strain during threading.
3. Thread the Upper Needles
Start with the right‑hand needle. Pull the thread from the spool, follow the guide marked with the matching color, and pass it through the tension disc. Continue to the take‑up lever, then thread the needle from front to back. Repeat the process for the left‑hand needle, using the second color guide. If you prefer a machine with a larger cutting knife for heavy fabrics, consider the Singer X5004‑HD Serger. Its oversized knife does not affect threading but demonstrates the machine’s capability for thick materials once the needles are correctly threaded.
The Singer X5004‑HD is priced at $299.99 with a rating of 4.5 out of 5 from 1,577 reviews. Its heavy‑duty metal frame provides stability while you focus on threading.
4. Thread the Lower Looper System
The lower looper threader can be intimidating because it involves two separate loops. On the Brother 1034D, the F.A.S.T. lower looper threading system simplifies this task: pull the thread through the lower looper guide, then follow the numbered arrows. The Juki MO‑50E offers an automatic lower looper threader that pulls the thread through with a single motion, reducing the chance of errors for beginners.
Explore the Juki MO‑50E Serger, priced at $299.00 and rated 4.5 out of 5 from 350 reviews. Its automatic looper threader saves time and ensures consistent tension.
5. Adjust Tension and Differential Feed
After all threads are in place, set the tension dials according to the fabric weight. Light fabrics require lower tension; heavy fabrics need higher tension. The differential feed dial controls how the fabric feeds through the machine, preventing puckering on knits and stretching on lightweight material. The Singer S0230 includes an intuitive differential feed system that is easy to adjust with a single dial.
The Singer S0230 Serger costs $289.99 and enjoys a rating of 4.5 out of 5 from 2,285 reviews. Its color‑coded threading and differential feed make it an excellent choice for novices.
6. Test Stitch on Scrap Fabric
Before beginning a project, run a short seam on a scrap piece of the same fabric. Observe stitch length, width, and tension. Adjust the stitch length dial if the stitches appear too long or too short. Verify that the knife trims excess fabric cleanly; a dull knife will leave ragged edges. If the test seam shows uneven stitching, revisit the tension settings or re‑thread the affected path.
All recommended machines provide foot‑pedal speed control, allowing you to start slowly for testing and increase speed for production.
Tips & Pro Tips
- Always start with fresh, high‑quality thread; old thread can cause lint buildup.
- Use a small scrap of the same fabric to record optimal tension and feed settings for future reference.
- Keep the looper and knife clean; dust can affect cutting performance.
- If you frequently switch between light and heavy fabrics, keep two sets of presser feet ready: a standard foot and a blind‑hem foot.
- Watch the manufacturer’s video tutorials; visual guidance complements the printed manual.
Troubleshooting
| Problem | Possible Cause | Solution |
|---|---|---|
| Uneven stitches | Incorrect tension on one thread | Re‑check each tension dial using the machine’s tension chart; adjust in small increments. |
| Fabric puckering | Differential feed set too low | Increase the differential feed dial slightly and retest on scrap fabric. |
| Knife not cutting | Dull or misaligned knife | Consult the manual to adjust the knife; replace if necessary. |
| Thread breaks frequently | Improper threading or low‑quality thread | Re‑thread following the color‑coded guides; use polyester thread for most projects. |
Conclusion
By following these systematic steps, the reader can master serger threading, reduce setup time, and produce professional‑quality seams. Proper threading, tension adjustment, and differential feed control are the foundations of successful serging. The recommended machines each offer features that simplify these tasks, but the principles apply to any serger.
Products Mentioned in This Guide
Frequently Asked Questions
Why is proper serger threading important?
Correct threading prevents skipped stitches, uneven tension, and machine jams, ensuring smooth, professional finishes.
What type of thread works best for most sergers?
High‑quality polyester or cotton thread matching the fabric weight is recommended for strength and consistent stitch quality.
How can I simplify threading a new serger?
Use the machine’s built‑in threading guide or a printed diagram, and follow the color‑coded path step‑by‑step.
What common mistakes should beginners avoid when threading a serger?
Skipping the tension adjustment, pulling the thread the wrong way, and neglecting to secure the thread tails are frequent errors.
How often should I replace serger thread and check tension settings?
Replace thread after each project or when it frays, and re‑check tension whenever you change thread type or fabric weight.