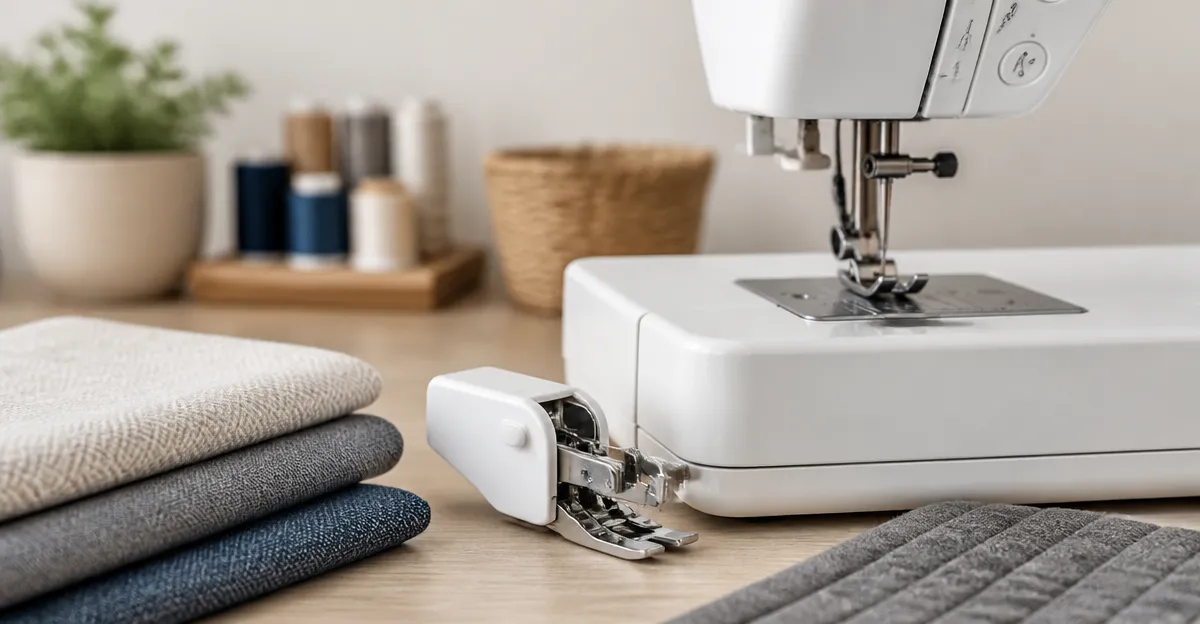
How to Attach and Use a Walking Foot on Brother CS7000X, Janome 3160QDC & Pfaff Passport 2.0 — Step-by-Step Guide for Quilting and Thick Fabrics
Introduction
Quilting and sewing multiple layers of fabric demand precise fabric feeding. A walking foot, also called an even‑feed foot, synchronises the movement of the upper and lower feed dogs, preventing shifting, puckering, or misalignment. This guide teaches the reader how to install and operate a walking foot on three popular low‑shank machines: the Brother CS7000X, the Janome 3160QDC, and the Pfaff Passport 2.0. By following the steps, one will achieve professional‑grade seams on heavy denim, velvet, canvas, or quilt sandwiches, while reducing fabric waste and frustration.
What You’ll Need
- Appropriate walking foot for your machine (see product recommendations below)
- Screwdriver (often a small Phillips, but many feet install tool‑free)
- Thread and needle suitable for the fabric weight
- Clean, well‑lubricated sewing machine
- Sample swatch of the fabric you intend to quilt
Step‑by‑Step Instructions
1. Verify Compatibility and Gather the Correct Walking Foot
Before purchasing, confirm that the walking foot matches the low‑shank design of your machine. For the Brother CS7000X, the Universal Walking Foot Kit is an economical choice at $18.99 with a 4.7‑star rating from 90 reviewers. Its universal compatibility includes Brother, Singer, Janome, and all low‑shank models, making it a versatile tool for mixed‑machine households.
If you own a Janome 3160QDC, the Janome Even Feed Foot ($44.99, 4.6 stars, 695 reviews) offers a detachable quilting guide that assists in creating evenly spaced parallel lines—particularly useful for traditional quilt blocks.
For the Pfaff Passport 2.0, a low‑shank foot such as the Singer Walking Presser Foot ($23.79, 4.7 stars, 1,029 reviews) provides smooth feeding on heavy fabrics and works well with low‑shank Pfaff models.
2. Prepare Your Machine
Turn off the machine and unplug it. Remove the needle and any accessories that might obstruct foot removal. Clean the presser bar with a soft brush to eliminate lint that could interfere with the new foot’s movement.
3. Remove the Existing Presser Foot
Most low‑shank machines use a simple screw or a quick‑release lever. Loosen the screw with a small Phillips screwdriver or press the release lever, then pull the existing foot straight off. Keep the screw in a safe place; you will need it for the walking foot installation.
4. Install the Walking Foot
Take the walking foot you selected in Step 1. Align the screw holes on the foot with those on the presser bar. For the Universal Walking Foot Kit, the installation is tool‑free: simply slide the foot onto the bar until it clicks into place. For the Janome Even Feed Foot, tighten the screw securely but avoid over‑tightening, which could warp the foot.
When installing the Singer Walking Presser Foot, note its low‑shank design; the foot sits lower than standard presser feet, allowing the machine’s feed dogs to engage the fabric evenly. Tighten the screw until the foot feels firm yet can still rotate freely.
5. Adjust Tension and Stitch Settings
Walking feet often require a slight reduction in top‑thread tension because the fabric is fed more evenly. Set the machine to a medium stitch length (around 3 mm) for quilting; this length provides adequate seam allowance without excessive bulk. If your machine offers a “walking foot” or “even feed” mode, activate it; otherwise, simply proceed with the standard settings.
6. Test on a Fabric Swatch
Place a small swatch of the intended fabric between the needle and the presser foot. Slowly sew a few inches, observing the feed. The fabric layers should move in unison without shifting. If you notice puckering, re‑check the foot’s alignment and ensure the screw is snug.
For quilts, use the detachable guide that comes with the Janome Even Feed Foot to maintain consistent spacing between rows of stitching. The guide slides along the foot’s base and locks into place, allowing precise control over stitch spacing.
7. Begin Your Quilting or Thick‑Fabric Project
With the walking foot securely installed and tension adjusted, you can now tackle multi‑layer quilts, denim garments, or leather upholstery. Remember to monitor the fabric feed periodically, especially when transitioning between different fabric weights. The walking foot will minimise fabric distortion, resulting in a clean, professional finish.
Tips & Pro Tips
- Use a quilting ruler or guide. Even when the foot feeds evenly, a ruler ensures straight seams across large quilts.
- Maintain a steady feed rate. Do not rush; a consistent hand speed allows the foot’s feed dogs to synchronise properly.
- Lubricate the foot occasionally. A drop of sewing machine oil on the moving parts of the foot prolongs its life, especially for heavy‑duty use.
- Choose the right needle. For thick fabrics, a denim or leather needle (size 90/14) reduces needle breakage.
- Test stitch density. For quilting, a stitch length of 2.5‑3 mm yields strong, flexible seams without excessive bulk.
Troubleshooting
| Problem | Possible Cause | Solution |
|---|---|---|
| Fabric still shifts | Foot not fully tightened or misaligned | Re‑install foot, ensure screw is snug and foot sits flush on the presser bar. |
| Puckering at seam start | Improper tension or needle too small | Reduce top tension by one click and use a heavier needle. |
| Foot makes loud noise | Foot rubbing against the throat plate | Check that the foot’s toe is not protruding; adjust position or use a low‑profile foot like the Madam Sew Open Toe Walking Foot. |
Conclusion
By selecting the appropriate walking foot, installing it correctly, and adjusting machine settings, one can sew thick fabrics, quilts, and layered projects with confidence. The walking foot eliminates fabric drift, reduces seam puckering, and speeds up production, allowing the sewist to focus on design rather than technical obstacles. Whether using the budget‑friendly Universal Walking Foot Kit, the feature‑rich Janome Even Feed Foot, or the reliable Singer Walking Presser Foot, the principles remain the same: secure attachment, proper tension, and consistent feed.
Products Mentioned in This Guide
Frequently Asked Questions
How do I attach a walking foot to a Brother CS7000X sewing machine?
Turn off the machine, remove the standard presser foot, align the walking foot’s shank with the presser bar, and secure it with the screw or quick‑release lever provided.
Can I use the same walking foot on a Janome 3160QDC and a Pfaff Passport 2.0?
No; each machine uses a specific low‑shank foot, so you need the Janome‑compatible foot for the 3160QDC and the Pfaff‑compatible foot for the Passport 2.0.
What type of needle should I use when quilting with a walking foot?
Use a universal or denim needle sized 90/14 to 110/18, depending on fabric thickness, to ensure smooth penetration without breaking.
Do I need to adjust stitch length or tension when using a walking foot?
Yes; increase stitch length slightly (3‑4 mm) and check tension, lowering it a notch if the fabric puckers, then test on a swatch.
Is a walking foot necessary for sewing multiple layers of fabric?
While not mandatory, a walking foot greatly reduces shifting and puckering, making it ideal for quilts, denim, canvas, and other thick material projects.